ALM 11.5 Installation – Step by Step, Single Server Deployment
Posted on Jul, 2012 by Admin
During HP Discover, HP announced on June 5th, 2012 the official release of HP ALM (Application Lifecycle Management) 11.5 (formerly known as Quality Center). I am going to outline the new installation process for a single server deployment on a Windows 2008 64-bit server. This guide assumes that all prerequisites have been met and MS SQL Server 2008 R2 (or another supported database server) has been installed or is readily available.
Update: We recently covered what’s new in ALM 11.5. Make sure the installation environment meets the ALM 11.5 minimum and supported server-side system requirements and the minimum and supported client-side system requirements.
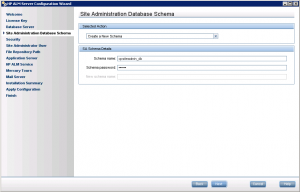
Some of the installation and deployment screens have changed but most of the install process is (not surprisingly) similar to ALM version 11. The most notable screens that changed are the splash screens and the application deployment step which now defaults to deploy the core, built-in application server (Jetty). In addition, within the “Site Administration Database Schema” application deployment step, there is a new option to “Connect to existing schema / second node” – it is no longer necessary to create a new database schema (and manually modify the deployment configuration to revert to the previously upgraded schema) when adding nodes or migrating an installation.
Installation
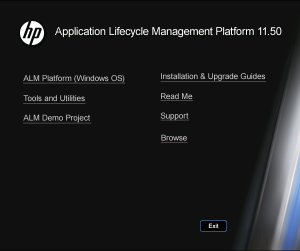
To start, execute the setup.exe file in the root directory of the installation media. An ALM 11.5 specific splash screen with new menu items will appear.
From the splash screen, click ALM Platform (Windows OS) to initiate the install.
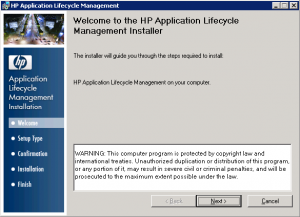
Click Next to continue to the next step.
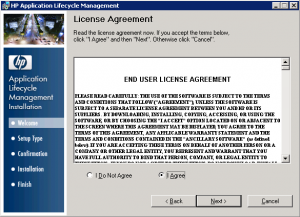
Click I Agree to accept the EULA and click Next.
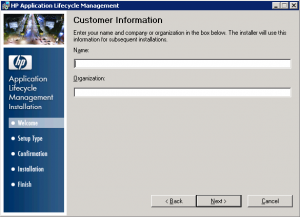
Populate the Customer Information and click Next.
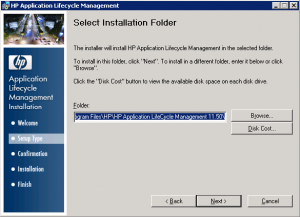
Select an Installation Folder and click Next.
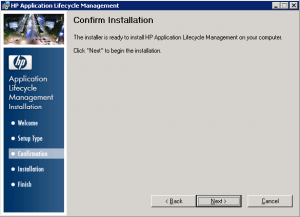
Click Next to confirm the installation.
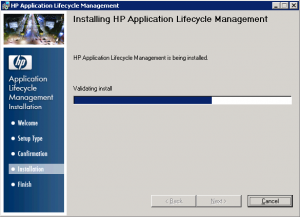
Watch the installation progress and wait for the install to complete.
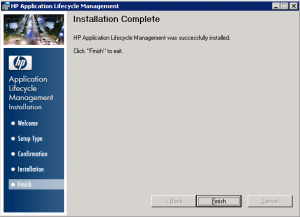
Click Finish. Afterwards, the Server Configuration Wizard will launch.
Server Configuration
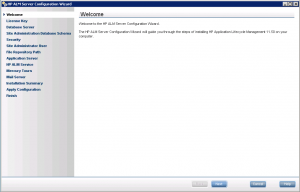
When the Server Configuration Wizard launches, a welcome screen initially appears.
Click Next to begin configuring the deployment.
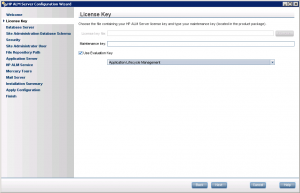
Provide a License Key or select an Evaluation Key and click Next.
Tip: Select the “Application Lifecycle Management” key. The “Quality Center Edition” and others are in Technology Preview at the time of writing. I have experienced problems reconfiguring a server first set to the “Quality Center Edition” when the “Application Lifecycle Management” edition is desired – the product does not reconfigure properly, and becomes “stuck” in the more limited Technology Preview, requiring a complete re-install to upgrade to the “Application Lifecycle Management” edition.
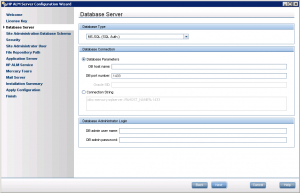
Populate the Database Server information and click Next. If the database connection is successful, you will be prompted to Create a New Schema.
Accept the defaults and click Next.
Populate the Confidential Data Passphrase and Communication Security information. Make note of these values – you may be need them later (i.e., installing a cluster). Click Next.
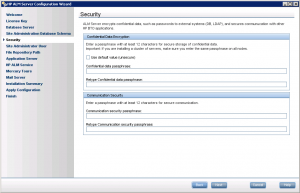
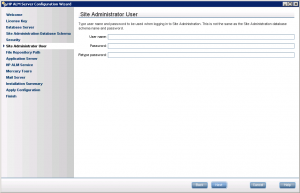
Populate the User name and Password information for the ALM Site Administrator User profile. Click Next.
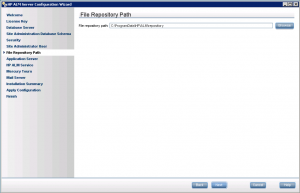
Provide a File Repository Path or accept the default path and click Next.
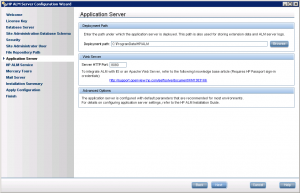
Accept the defaults or populate the Deployment Path and Server HTTP Port and click Next. Note: the core (Jetty) server is installed by default and further steps are required to integrate with IIS or Apache web servers.
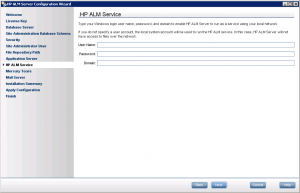
To use a local system account to run the HP ALM service, accept the default values and click Next.
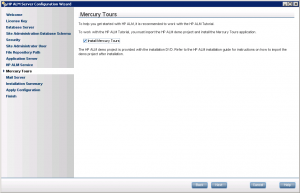
Check Install Mercury Tours to install the demo project and click Next.
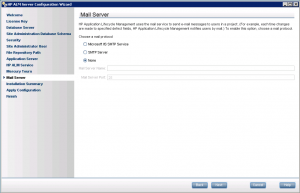
Populate the Mail Server information to enable email notifications or accept the default (no email server) and click Next.
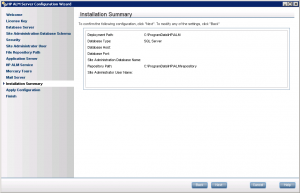
Review the Installation Summary and click Next.
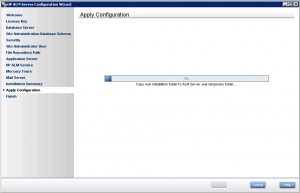
Wait for the deployment configuration to be applied.
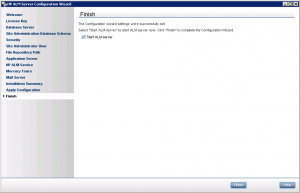
Click Finish to start the ALM server.
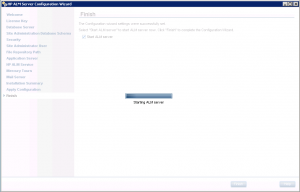
Wait for the ALM server to start.
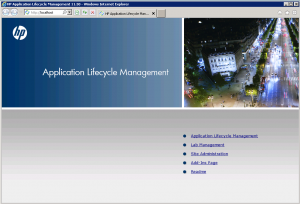
After the ALM Server is started, IE will open. Click the Site Administration link to begin administering your new ALM 11.5 installation.
Conclusion
An ALM installation in the enterprise tends to be more complex, often involving high availability or load balanced servers (application, web and/or database). Did you know that Northway Solutions Group offers HP ALM training, installation, upgrade, migration and consultation services for ALM and QC? Contact us for more information.
Update: The HP official install documentation can be found here: HP ALM 11.5 Installation Guide and HP ALM 11.0 Installation Guide.
Let us know what you think and watch our blog for more information about what’s new in ALM 11.5.
